How To Grout Tile

Grouting tile can feel like a challenge at first, but it’s a skill anyone can master with a little guidance. From updating a bathroom to adding style to your kitchen backsplash or finishing a floor, proper grouting makes all the difference in achieving a polished and durable result.
Here, you’ll find clear steps, practical tips, and recommendations for choosing the right materials, helping you confidently tackle your next tiling project.
Why Is Grouting Important?
Grouting does more than just hold tiles in place—it seals the gaps between tiles, preventing moisture from sneaking in and causing damage. Plus, it adds a polished, cohesive look to your tiling project. A proper grout job not only ensures durability but also boosts the visual appeal of your work.
What You’ll Need to Grout Tile
Before diving in, ensure you have all the tools and materials ready. You don’t want to pause halfway through because you’re missing a crucial item. Here’s your checklist:
Tools:
- Grout float
- Sponge
- Bucket
- Trowel or putty knife
- Microfiber cloth
Materials:
- Grout (sanded or unsanded, depending on tile spacing)
- Grout sealer
- Clean water

If you’re still gathering supplies, a trip to a trusted tile store can help you find everything you need, including high-quality grout and other tiling essentials.
Step-by-Step Instructions for Grouting Tile
Clean the Tile Surface
Before applying grout, ensure the tiles and joints are clean and free of dust or debris. Use a damp cloth or sponge to wipe the surface and let it dry completely. This will prevent dirt from getting trapped under the grout.
Mix the Grout Properly
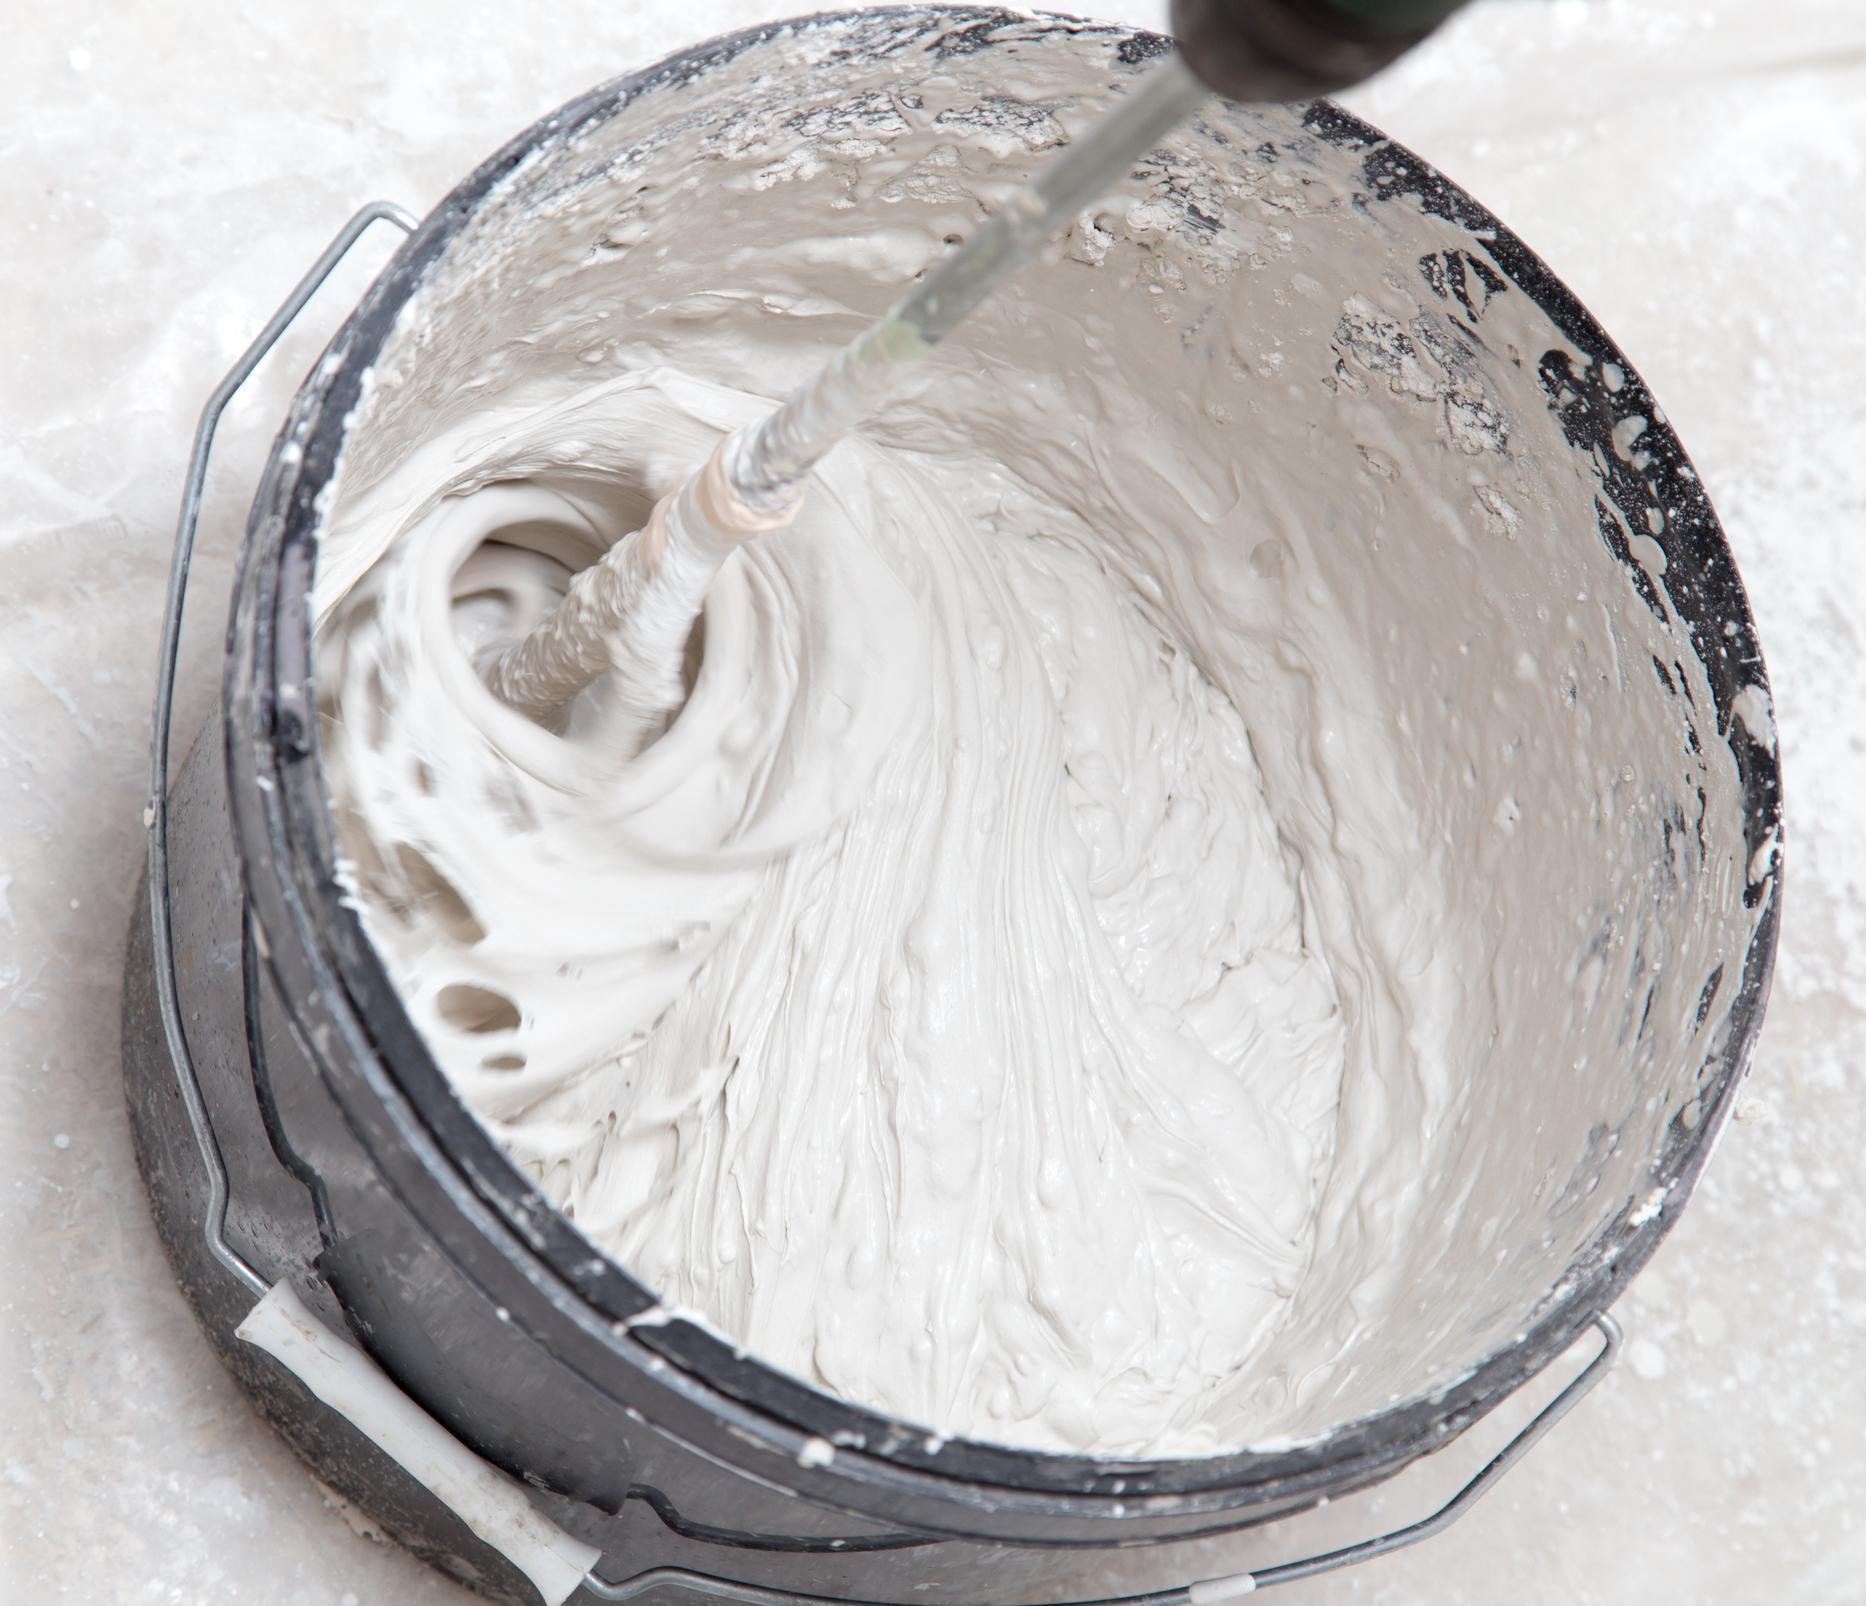
Follow the manufacturer’s instructions to mix the grout. It should have a peanut butter-like consistency—not too runny or stiff. Use a bucket and a trowel to mix thoroughly, ensuring no lumps.
Pro Tip: Mix small batches of grout at a time, especially if you’re new to grouting, as it can dry out quickly.
Apply Grout
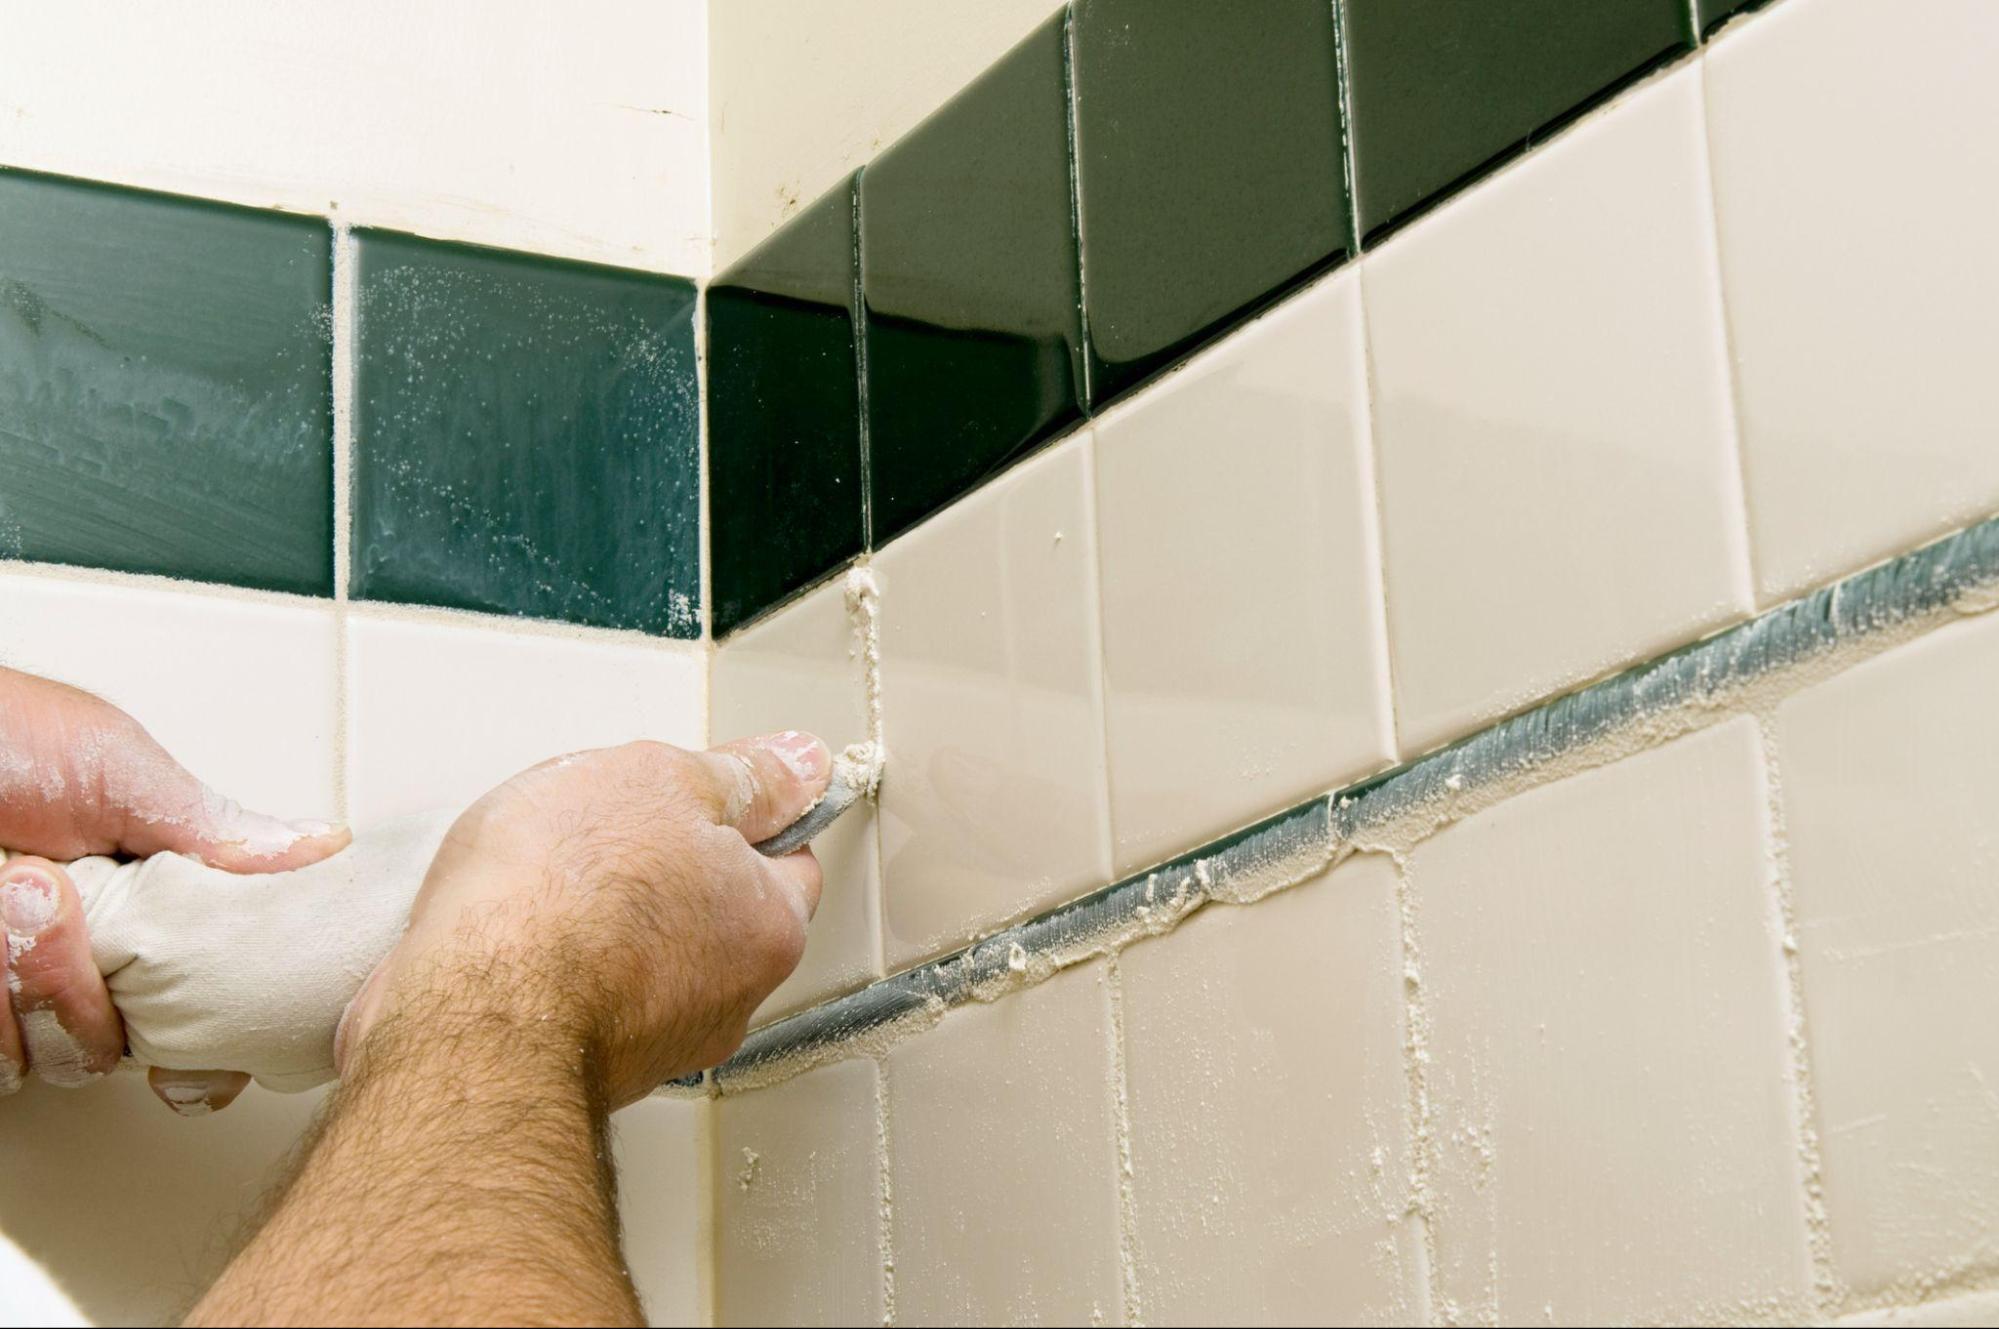
To apply grout, use a grout float at a 45-degree angle and press the grout firmly into the joints. Spread diagonally across the tiles to ensure all gaps are filled. This technique prevents the float from pulling grout out of the joints.
Remove Excess Grout
Once the joints are filled, hold the grout float at a 90-degree angle and scrape away excess grout from the tile surface. Don’t worry about small smears; you’ll clean them up later.
Clean the Tile Surface with a Sponge
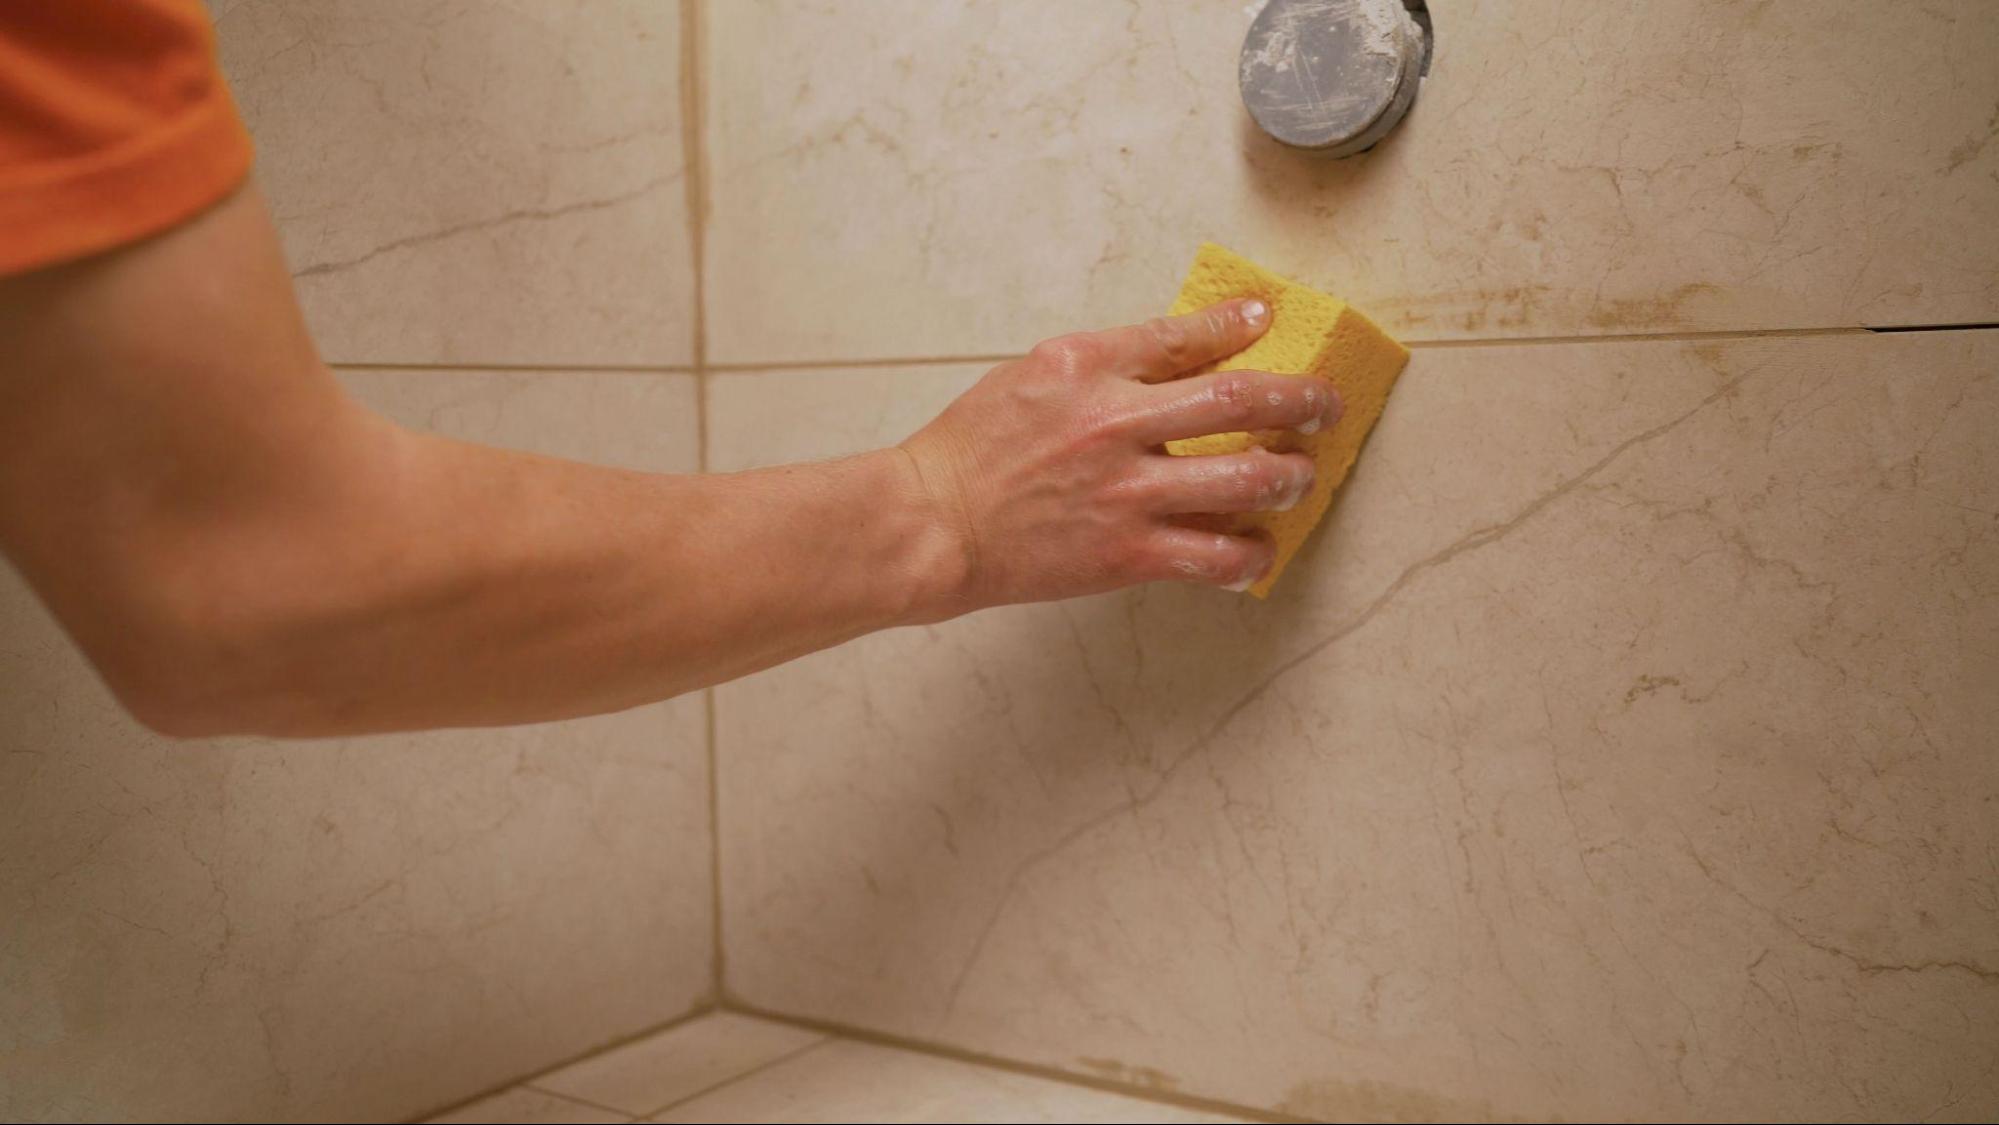
Wait about 10-15 minutes, then gently wipe the tiles with a damp sponge to remove grout haze. Rinse the sponge frequently with clean water to avoid spreading grout residue.

Buff the Tiles
After the grout has dried slightly (around 2 hours), use a microfiber cloth to buff the tiles and remove any remaining haze.
Seal the Grout
Sealing grout is essential for protecting it from stains and water damage. Once the grout has fully cured (typically 24-48 hours), apply a grout sealer following the product instructions.
For a visual guide to these steps, check out this DIY video tutorial that walks you through the grouting process. It’s a helpful resource for seeing the techniques in motion and gaining additional tips.
Common Grouting Mistakes to Avoid
Grouting can be tricky for beginners, but avoiding these common pitfalls will help:
Using too much water
Over-saturating grout can weaken its strength and cause cracking.

Skipping the sealant
Unsealed grout is prone to staining and damage over time.
Rushing the cleaning step
Waiting too long to clean grout haze will harden and be much harder to remove.
FAQ: Troubleshooting Your Grout Job
How Long Does Grout Take to Dry?
Depending on the type and brand, Grout typically takes 24-48 hours to cure. Avoid walking on or exposing the grout to water during this time.
What Type of Grout Should I Use?
For joints wider than 1/8 inch, use sanded grout. For smaller joints, unsanded grout is the better option.
What Are the Ideal Materials for Tile Installation?
High-quality grout, adhesive, and tiles are crucial for a successful project. For more tips on selecting the best materials for tile installation, check out this comprehensive guide.
Conclusion
Grouting tiles is a skill that can transform the look and durability of your space. You’ll achieve a polished and lasting finish by following the steps carefully—cleaning, applying grout, removing excess, and sealing.
Avoid common mistakes like using too much water or skipping the sealing step to ensure your grout remains strong and stain-free. Grouting becomes easier and more intuitive with practice, setting you up for success in future tiling projects.

 Seamless HVAC Protection: Year-Round AC Care and Around-the-Clock Furnace Support
  Why DIY Moves Cost More Than You Think (And How Movers Solve It)
  5 Ideal Quality Air Duct Cleaning Solutions for Homes and Offices