
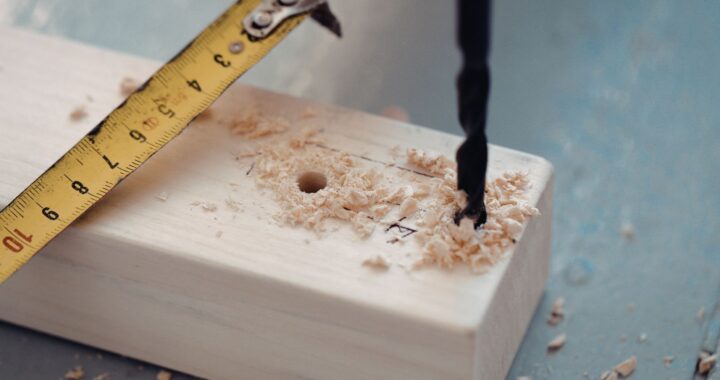
A Complete Guide to Choosing and Using Glass Drill Bits Effectively

Glass drilling is a skill that is crucial in many DIY and professional projects, from crafting beautiful glass art to installing fixtures in glass panels. However, working with glass can be tricky. If done improperly, it can crack or shatter easily. One of the most important tools for successful glass drilling is the glass drill bit. This guide will provide you with comprehensive insights into choosing the right drill bits, preparing for drilling, using the bits effectively, and troubleshooting common problems.
Types of Glass Drill Bits
When it comes to glass, not all drill bits are created equal. There are different types of drill bits, each designed for specific purposes and materials. The most common glass drill bits are carbide-tipped, diamond-coated, spear-point, twist, and hole saw drill bits.
Carbide-tipped drill bits are renowned for their durability and precision. These bits can handle tougher glass, making them ideal for heavy-duty projects. Their sturdy construction ensures long-lasting use and accurate results. Diamond-coated drill bits, on the other hand, are perfect for thicker glass or tough materials. The diamond coating allows the bit to cut through harder surfaces without overheating or dulling quickly.
Spear-point drill bits are designed for creating clean, precise holes. These bits are especially useful when you need to drill into thin glass, ensuring minimal breakage. Twist drill bits are more commonly used for light drilling tasks and are best suited for thinner glass. They offer a balance between speed and accuracy but might not perform well with thick or tough glass. Finally, hole saw drill bits are ideal when you need to drill larger holes in glass. They provide a larger cutting surface and are typically used for more substantial drilling needs, such as creating holes for pipes or electrical fittings.
Factors to Consider When Choosing Glass Drill Bits
When selecting a glass drill bit, several factors come into play. One of the most important considerations is the thickness of the glass. Thicker glass requires a more robust drill bit, such as a diamond-coated or carbide-tipped bit, to ensure the job is done without causing cracks. If you’re working with thin glass, a twist drill bit or spear-point drill bit may be sufficient.

The type of glass you’re drilling also matters. Tempered glass, for example, is much stronger than standard glass, and drilling it requires more specialized bits, such as diamond-coated ones. On the other hand, stained glass or laminated glass might require bits that create cleaner, more delicate cuts. The quality and design of the drill bit should match the type of glass you’re dealing with.
Speed and precision are other important factors to consider. While it may be tempting to drill quickly, it’s essential to balance speed with accuracy. Drilling too quickly can cause the glass to crack or chip. It’s crucial to find a drill bit that provides control and precision while also allowing you to maintain an efficient drilling speed.
Preparing to Drill Glass
Before you start drilling, it’s essential to prepare your workspace and materials. Safety should be your top priority when working with glass. Always wear protective gear, including safety goggles and gloves, to shield yourself from potential shards of glass. The glass can easily crack or break, so ensuring your safety is vital.
Next, set up a stable workspace. If you’re drilling large sheets of glass, a workbench with clamps is ideal. For smaller pieces, a non-slip mat will help hold the glass in place. It’s crucial that the glass doesn’t shift while you’re drilling, as even slight movement can result in cracks.
Measuring and marking your drilling spot is another crucial step. A fine-tipped marker or masking tape can be used to mark where you plan to drill. Ensure the marks are accurate and clear, as even a small mistake can ruin the project. If precision is required, use a square or ruler to measure the location of the hole.
Techniques for Drilling Glass
Once your glass is prepared and secured, it’s time to start drilling. Begin by drilling a pilot hole. A pilot hole is a smaller hole drilled at a low speed, which helps guide the larger bit and prevents it from slipping. Using a pilot hole is especially important when drilling into thin glass, as it minimizes the risk of cracking.

When drilling, use the correct speed and pressure. Drilling too quickly can overheat the drill bit and cause the glass to crack. Slow and steady is key. Apply minimal pressure when drilling and let the drill bit do the work. For thicker glass, you may need to pause intermittently to allow the drill bit to cool down.
Using water or lubricant to cool the drill bit during the process is essential. This will prevent the bit from overheating and ensure a smoother drilling experience. Some people prefer to use a damp sponge or spray water directly on the glass as they drill. This helps keep the bit cool and reduces the friction between the bit and the glass.
Conclusion
Choosing and using glass drill bits effectively requires knowledge, preparation, and precision. By selecting the right type of drill bit for your project, preparing your workspace carefully, and following proper techniques during drilling, you can achieve clean, precise holes without damaging the glass. Always take the time to troubleshoot and maintain your drill bits to ensure long-lasting results.
 The Standards Most People Ignore When Selecting Wood Screws
  Perfect Tips for Choosing Egress Windows for Your Basement
 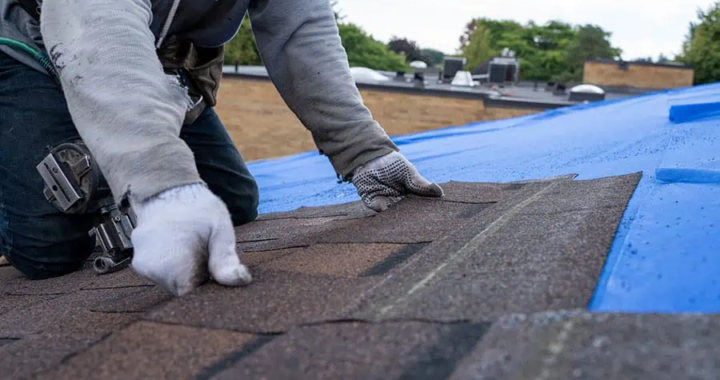 What Is Included in a Roof Replacement?