Get the perfect shower caulking

When it comes to caulking your shower, you want to make sure that you get the perfect job done. This will ensure that your shower stays watertight and looks great for years to come. In this post, we’ll give you some tips on how to get the perfect caulking job every time.
What is caulking
Caulking is a sealant that is used to fill in the gaps between two surfaces. It is often used in bathtub and shower surrounds to create a watertight seal. Caulking can also be used to seal cracks in walls and floors, and to prevent moisture damage. There are many different types of caulking, so it is important to choose the right one for the job.
Remove the old caulking from your shower
Removing the old caulking from your shower is an important step in getting the perfect job done. You can use a variety of tools to do this, such as a scraper or a sharp knife. Be careful not to damage the surface of your shower while you’re removing the caulking.
Clean the area around the shower with a degreaser
Clean the area around the shower with a degreaser. This will help remove any dirt or grease that may keep the new caulking from sticking.
Apply the new caulking to the shower
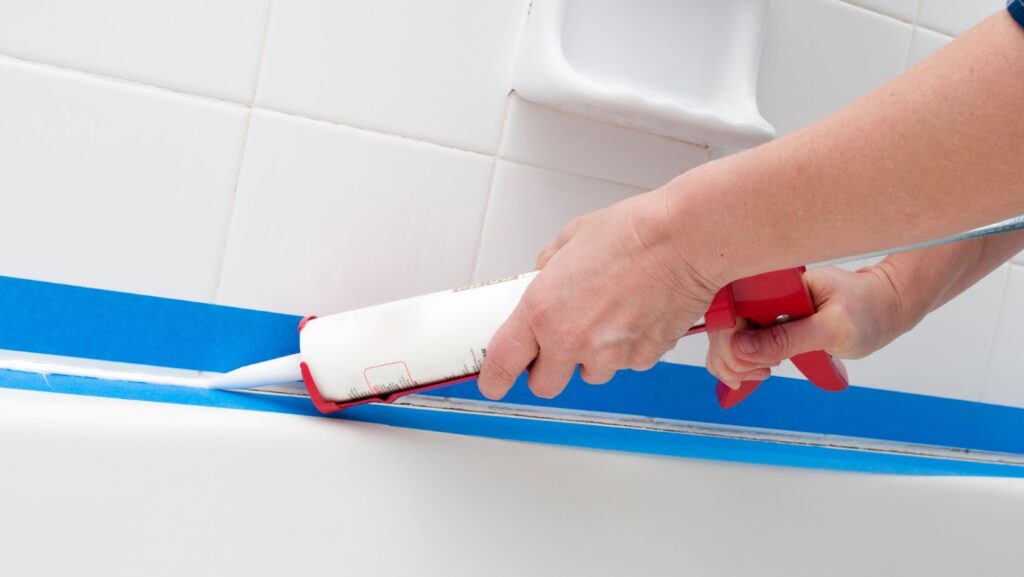
Once the area is clean, you can start applying the new caulking. You can use a caulking gun to do this, or you can use a putty knife if you’re working by hand. Make sure to apply it in a consistent thickness, and be careful not to get it on any other surfaces.
Smooth out the caulking
Once you’ve applied the caulking, use a wet finger or a damp cloth to smooth it out. This will help ensure that it’s applied correctly and that there are no bumps or gaps. Let the caulking dry completely before using your shower.
How to remove mold from shower caulking
If you notice that your shower caulking has started to grow mold, don’t panic! There are a few simple steps that you can take to remove the mold and restore your caulking to its original condition.
- The first step is to gather some supplies. You’ll need a bucket, some bleach, a scrub brush, and some new caulking.
- Next, fill the bucket with hot water and add bleach until it’s saturated. Swish the bleach around until it’s completely dissolved.
- Now, use the scrub brush to scrub the mold off of the caulking. Be sure to get into all the nooks and crannies.
- Once the mold is gone, use a utility knife to cut away the old caulking. Make sure to be careful not to cut into the tile or grout.
- Finally, apply a fresh coat of caulking and let it dry completely.
Apply a new layer of caulk to the shower
Apply a new layer of caulk to the shower. Be sure to apply it in a consistent thickness, and make sure that there are no gaps or bumps. Let the caulking dry completely before using your shower.
Smooth out the caulk with your finger or a wet cloth
After you have applied the caulk, use your finger or a damp cloth to smooth it out. This will help ensure that it’s applied correctly and that there are no bumps or gaps. Let the caulking dry completely before using your shower.
Caulking your shower is an important step in ensuring that it stays watertight and looking great for years to come. By following the tips in this post, you can get the perfect caulking job every time.

 How to Keep Your Garage Door and Gate Running Smoothly Year-Round
  Effective Solutions for Gutter Rust and Corrosion
  Revealing Why Overlooking Plumbing Issues Could Cost You More