
How to Perform a Roof Inspection
Regular roof inspections are crucial for maintaining the integrity of your home. Whether you’re checking for damage after a storm or conducting routine maintenance, a thorough inspection can help you identify potential issues before they become costly repairs. If you’re uncertain about your roof’s condition, professional roofing installation services in Beamsville can provide expert assistance. However, if you prefer to inspect your roof yourself, follow this comprehensive guide.
Safety First
Before beginning your roof inspection, prioritize safety. Roof work can be hazardous, so take the following precautions:
- Use a sturdy ladder and place it on level ground.
- Wear slip-resistant shoes with good traction.
- Avoid inspecting the roof in wet or windy conditions.
- Consider using a safety harness if you need to walk on the roof.
- Have someone nearby in case of an emergency.
If your roof is too steep or high, it’s best to call a professional instead of risking injury.
Exterior Roof Inspection
Start by examining your roof from the ground using binoculars. Look for any visible signs of damage, such as:
- Missing, cracked, or curling shingles
- Dark spots or areas where granules are missing
- Sagging sections
- Moss, algae, or lichen growth
- Damaged flashing around chimneys, vents, or skylights
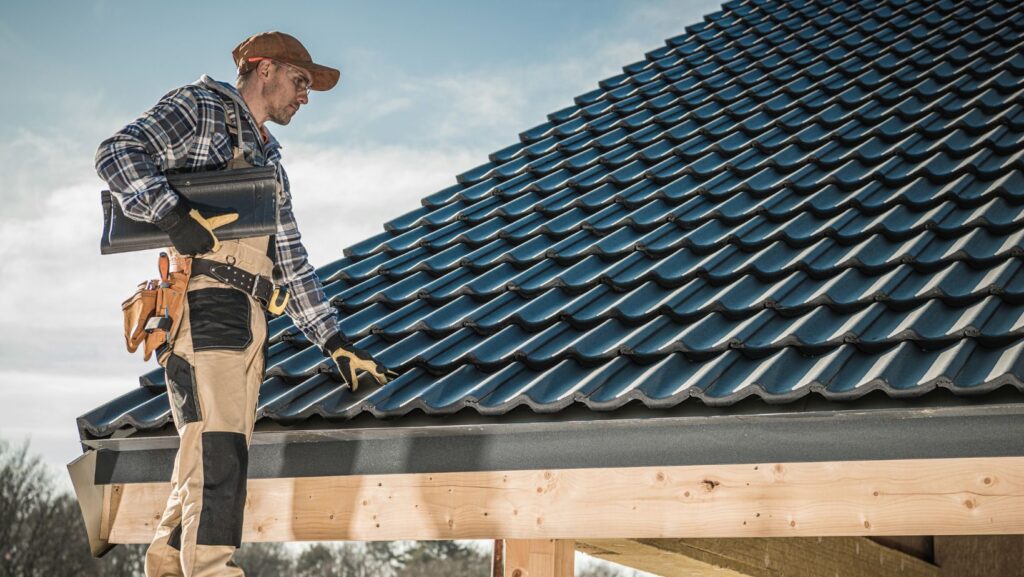
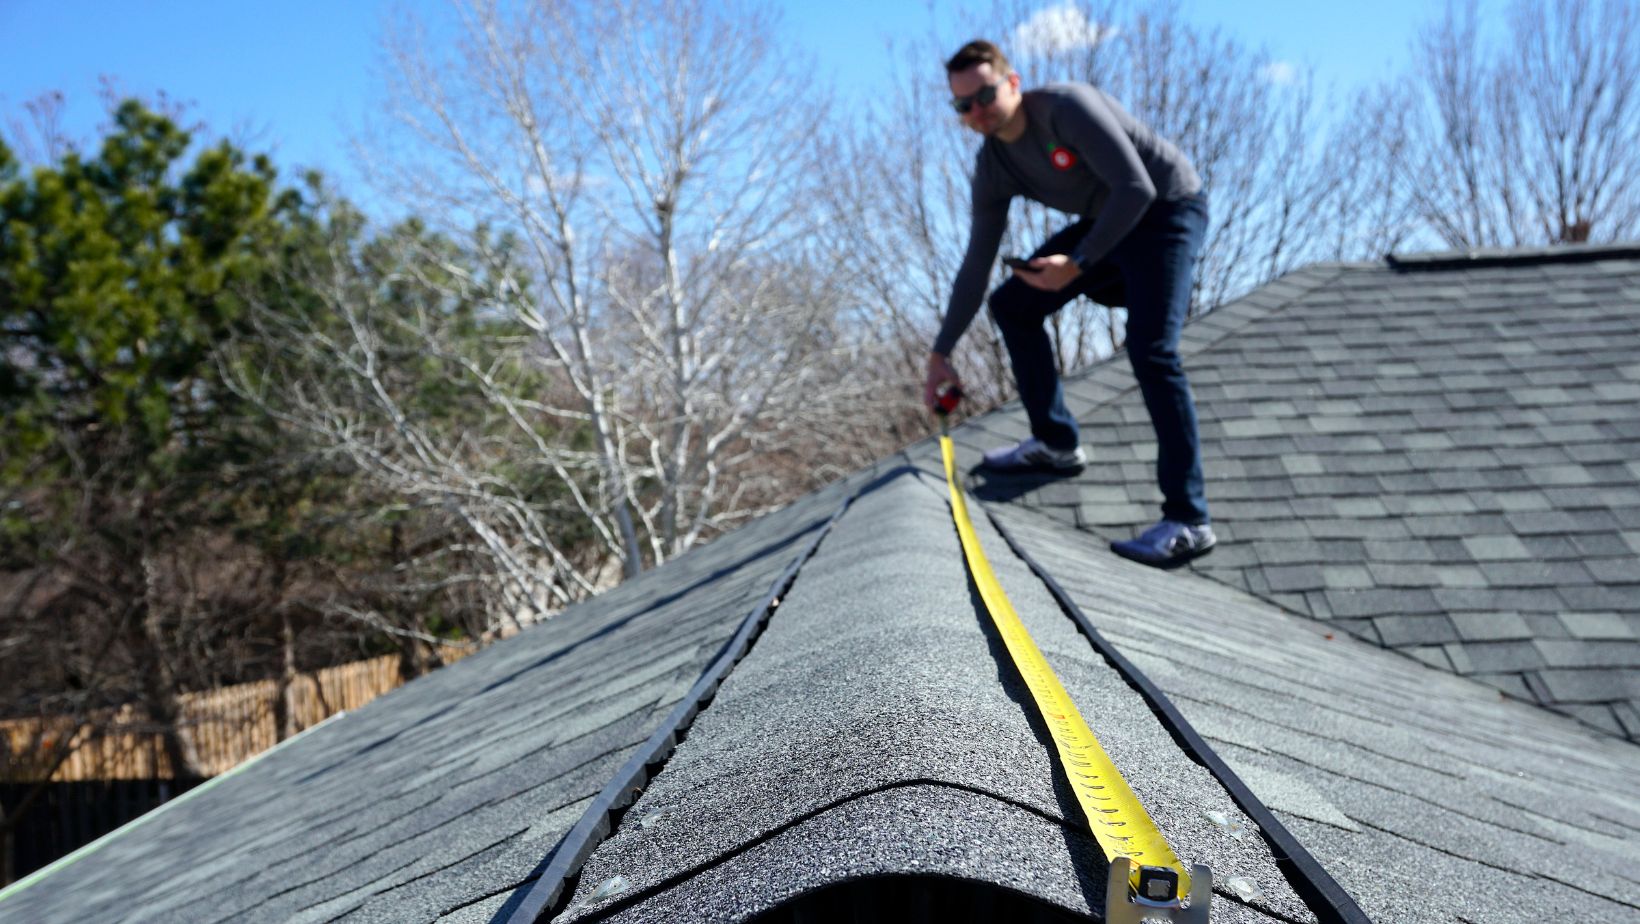
Next, if you feel comfortable, climb onto the roof to get a closer look. Walk carefully and inspect these key areas:
Shingles and Roofing Material
Check the shingles or roofing material for wear and tear. Asphalt shingles should have an even granule distribution. If you notice excessive granule loss, it could indicate aging shingles that need replacement. For metal roofs, look for rust or corrosion.
Flashing and Seals
Inspect the flashing around chimneys, vents, and skylights for cracks or separation. Damaged flashing can allow water to seep into your home, leading to leaks and structural issues. Ensure that all seals and caulking are intact.
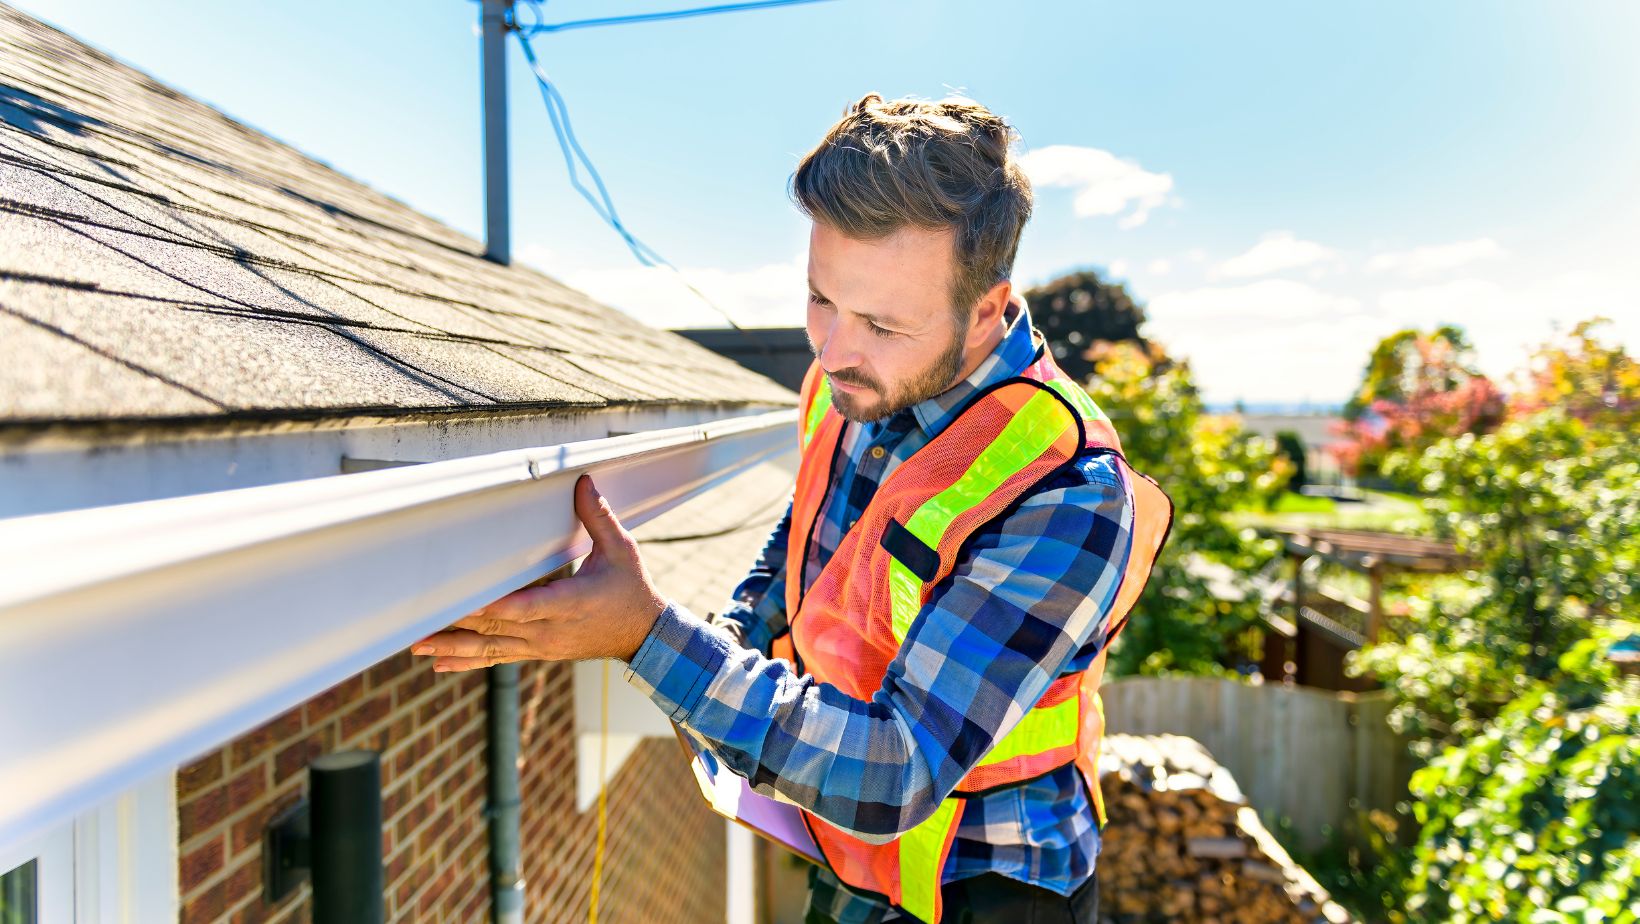
Gutters and Downspouts
Clear debris from gutters and downspouts to ensure proper water drainage. Check for signs of shingle granules in the gutters, which may indicate roof deterioration. Ensure downspouts direct water away from your home’s foundation.
Interior Roof Inspection
Once the exterior is checked, move inside to examine your attic and ceilings. Look for the following:
- Water Stains or Leaks: Brown or yellow stains on ceilings and walls indicate water damage.
- Mold or Mildew: Excess moisture in the attic can lead to mold growth.
- Daylight Through the Roof: If you see sunlight shining through the attic, it may signal holes or gaps in the roofing material.
- Ventilation Issues: Poor attic ventilation can lead to heat buildup, increasing energy costs and shortening the lifespan of your roof.
When to Call a Professional
If you find extensive damage, significant leaks, or structural concerns, it’s best to contact a professional roofing contractor. A qualified roofer can provide a detailed assessment and recommend necessary repairs or replacements.
Conclusion
Regular roof inspections can help prevent costly repairs and extend the life of your roof. By following these steps, you can identify and address minor issues before they become major problems. However, when in doubt, always consult a roofing professional to ensure your home remains protected.
 5 Questions to Ask a Plumbing Company Before Hiring Them For Home Plumbing Repairs
  Stopping the Leak: How Hidden Plumbing Problems Drain Your Bank Account
  How Modern Residential Plumbing Solutions Reduce Long-Term Repair Costs