Step-by-Step Guide to Fixing Your Water Damaged Ceiling: DIY Repair Tips & Tricks

A water-damaged ceiling isn’t just an eyesore; it’s a ticking time bomb that can collapse at any moment. This article will guide you through the process of restoring your ceiling, making it as good as new.
Whether you’re dealing with a minor leak or a major flood, swift action is crucial. We’ll delve into the steps you need to take, from identifying the source of the water damage to the final touch-ups.
So, roll up your sleeves and prepare to reclaim your home. With a little patience and the right approach, you’ll turn this daunting task into a manageable project.
Understanding Water Damage in Ceilings
Knowing the intricacies of water damage plays a pivotal role in setting the stage for effective restoration. This part delves into signs of water damage along with common causes.
Signs of Water Damage
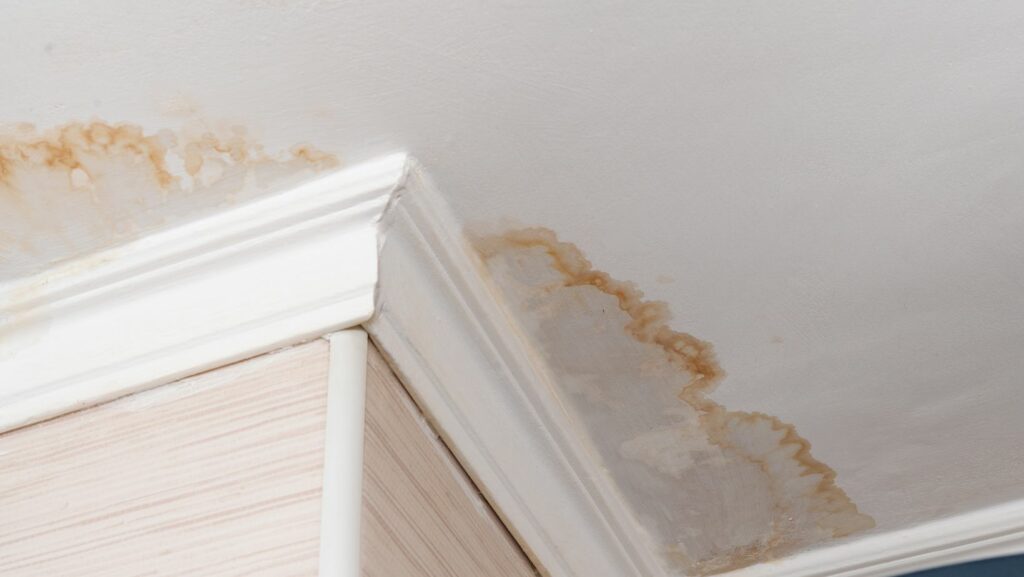
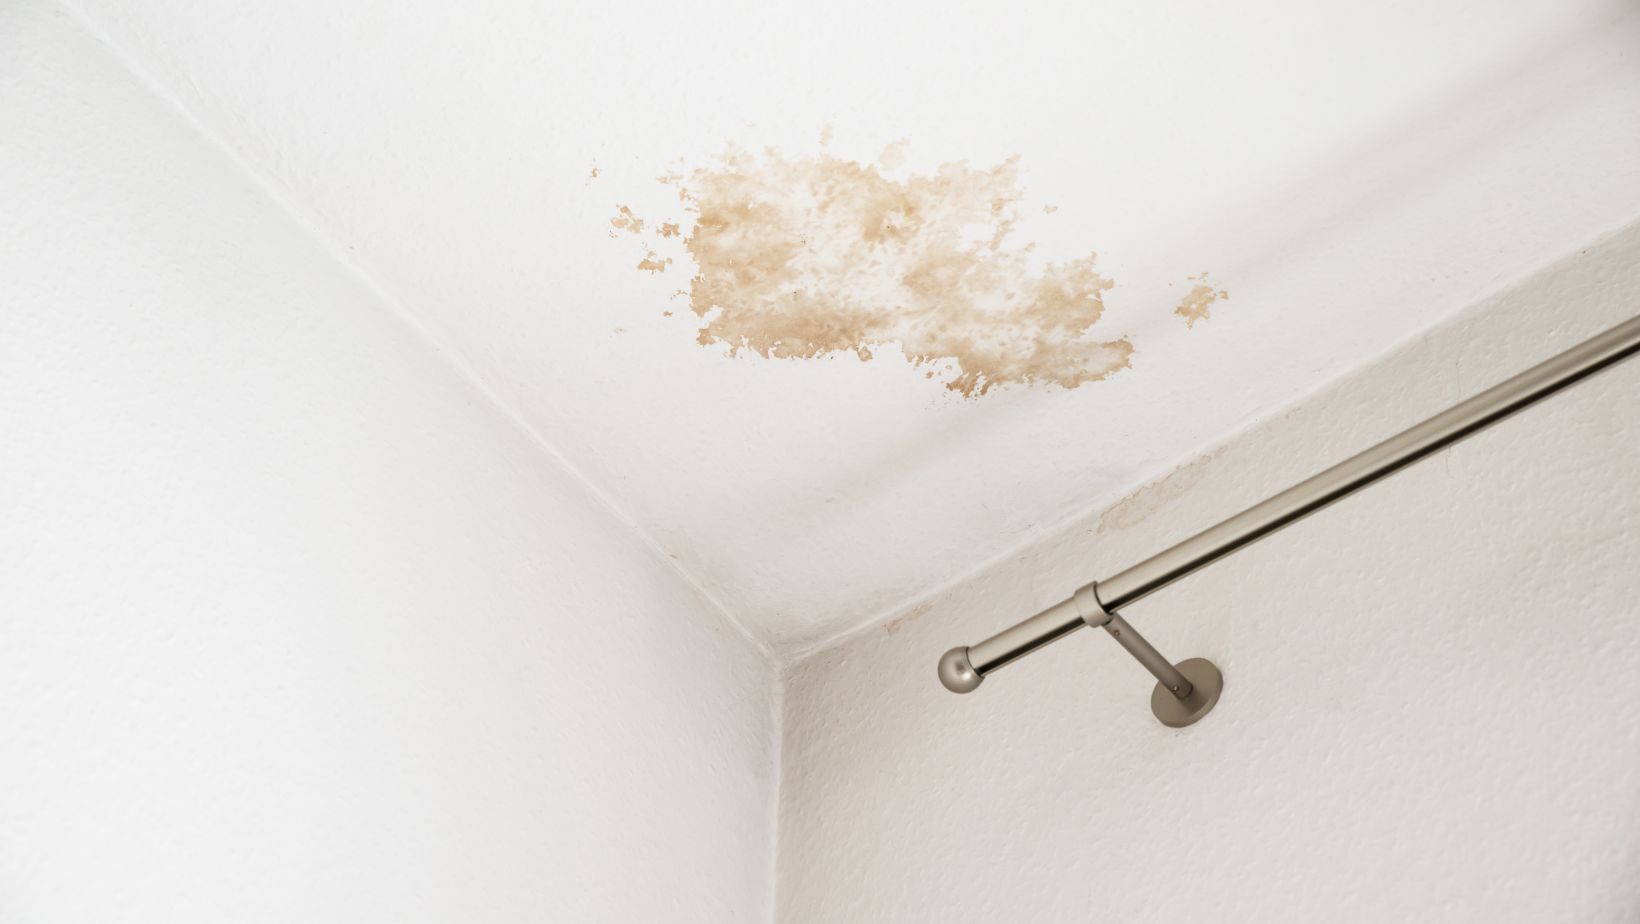
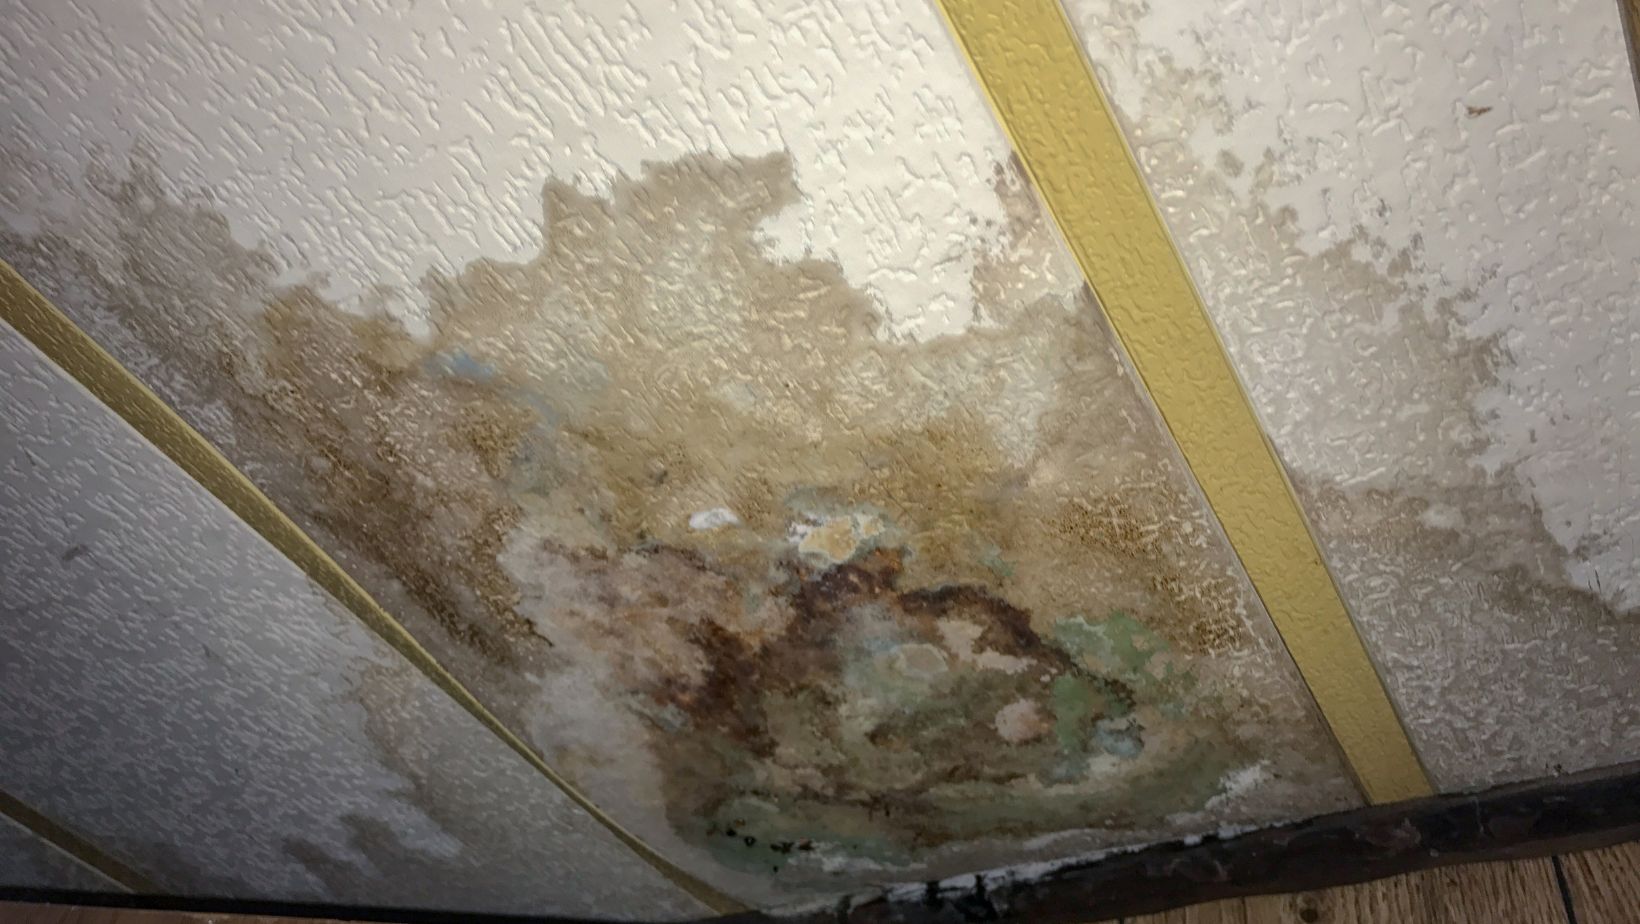
Detecting water damage in ceilings isn’t a herculean task if individuals understand the signs. Discoloration forms the initial indication, manifesting as brown or yellow patches. Any signs of mold growth, such as dark spots, serve as red flags, indicating long-standing water damage. Bubbling or cracking of the paint comes as further proof, usually coupled with a sagging appearance of the ceiling. Peeling off of plaster or drywall is another significant indication, and at times, one might notice a musty smell signaling hidden water damage.
Common Causes of Ceiling Water Damage
Water damage in ceilings primarily stems from a variety of factors. Leaky pipes stand as one of the most common culprits, often owing to their unnoticed deterioration. Any leaking appliances located above the ceiling contribute significantly to the water saturation. Bathrooms or kitchens situated upstairs can lead to damage in the ceiling below, especially if their plumbing experiences leaks. Apart from these, roof leaks during heavy rain or storms are usual suspects, causing water to seep and accumulate in the ceiling. At times, clogged gutters that overflow might direct water onto the wall, further trickling down to the ceiling. By recognizing these common causes, individuals can take the appropriate steps for successful restoration.
Initial Steps to Take for a Water Damaged Ceiling
The section interprets actions taken immediately after identifying a water-damaged ceiling, emphasising the significance of safety precautions and moisture detection tests.
Safety Measures and Precautions
Ceiling water damage requires prioritising safety above all. Initiate by switching off all electricity, as water and electricity create a hazardous combo. Ascertain that all electrical items, sockets, and plugs are off and safe from water contact. Respirator masks are necessary, considering the presence of potential harmful agents such as mold or asbestos. Donning safety glasses, gloves and wear protective clothing to shield against injury. Create well-ventilated space. For example, open windows and utilize fans if it’s safe. If a sagging ceiling spots are visible, vacate the room and call a professional; a ceiling collapse imposes a severe safety risk.
Detecting the Source
Realize that tackling water damage involves more than surface-level fixes. Tracking the source of the leak is an essential step. Ceiling leaks do not always manifest directly below the leak source. Water flows along pipes, beams, and other building structures, eventually pooling in low spots.
Recognizing the starting point involves inspecting areas near the leak, including upstairs rooms, attics, and roofs.
Moisture Detection Test
Conducting a moisture detection test can ascertain severity of the ceiling damage. Moisture meters possess two types -pin and pinless. Pin meters have two prongs that get directly inserted into the building material to measure the level of moisture. On the other hand, pinless meters are run over the surface of the material and hence, they are useful for broader and quicker evaluations. A reading above 16% qualifies as extreme moisture content, and it calls for urgent attention.
DIY Repair Tips for Water Damaged Ceilings
Further action for a water-damaged ceiling involves drying, repairing, and painting. Each step is essential for a comprehensive restoration.
Drying Out the Ceiling
Drying forms the initial step in fixing a water-damaged ceiling. It involves speeding up the evaporation process using fans or dehumidifiers, aiding in the decrease of moisture content observed in the initial damage assessment. Experts suggest using moisture-absorbing products like silica gel when drying smaller areas. If moisture content exceeds 16%, professional intervention might be required.
Repairing the Ceiling Drywall
Post drying, ceiling repair involves addressing drywall damage. Cutting out the damaged section, using a utility knife for precision, constitutes the first step. Replacement of the cut section with a new piece of drywall matching the existing ceiling thickness follows. Securing the new patch using screws or drywall anchors, applying joint compound to hide seams, and sanding the patched area to ensure a smooth finish are subsequent steps.
Priming and Painting the Ceiling
Once the ceiling repair is complete, the priming process begins. A stain-blocking primer, specially formulated to prevent water stains, is ideal. Painting follows priming. As a tip, using a roller with an extension handle can ease the process and provide a uniform effect on the ceiling. Matching the paint with the existing ceiling color is also crucial, ensuring the repaired area blends seamlessly with the rest of the ceiling. Of course, applying two coats of paint usually yields the best results.
Prevent Future Water Damage
After repairing your water-damaged ceiling, take steps to prevent future water damage. Here are some tips to protect your home:
Regular Roof Inspections: Inspect your roof regularly for signs of damage or wear. Address any issues promptly to prevent leaks.

Maintain Plumbing: Regularly check your plumbing for leaks and repair them immediately. Insulate pipes to prevent freezing in cold weather.
Improve Ventilation: Ensure proper ventilation in areas prone to moisture, such as attics and bathrooms. Use exhaust fans and dehumidifiers to control humidity levels.
Install Water Alarms: Consider installing water alarms in areas prone to leaks, such as basements and bathrooms. These devices can alert you to potential water issues before they cause significant damage.
Hiring Water Restoration Professionals for Water-Damaged Ceiling
Hiring water restoration professionals is essential for effectively addressing a water-damaged ceiling. Experts from SS Water Restoration in Aubrey, TX, possess the necessary tools and expertise to thoroughly dry, repair, and restore your ceiling, preventing further damage and mold growth. They can quickly identify the source of the water intrusion and ensure it is properly fixed, providing peace of mind. Professional services also help navigate insurance claims, ensuring all documentation is correctly submitted. Trusting SS Water Restoration Aubrey, TX, ensures a high-quality and efficient restoration, preserving the integrity and safety of your home.
Conclusion
So, there you have it. Addressing water-damaged ceilings promptly is crucial to avoid the risk of collapse. It’s not only about detecting the signs and causes but also about ensuring safety and finding the leak source. With the right DIY repair tips, anyone can restore their water-damaged ceiling. Remember, the process involves drying out the area, repairing the drywall, and priming and painting for a complete restoration. Don’t forget the importance of matching paint colors and applying two coats for the best results. It’s all about taking the right steps at the right time. With this guide, restoring a water-damaged ceiling becomes a manageable task. It’s time to roll up those sleeves and get to work.


 Troubleshooting a Garage Door Opener That Won’t Respond
  The Future of Energy: Innovations and Trends Shaping the Industry
  Seven Key Factors to Consider When Choosing a Floating Pond Fountain