
Preparing Your Roof for Asphalt Shingle Installation
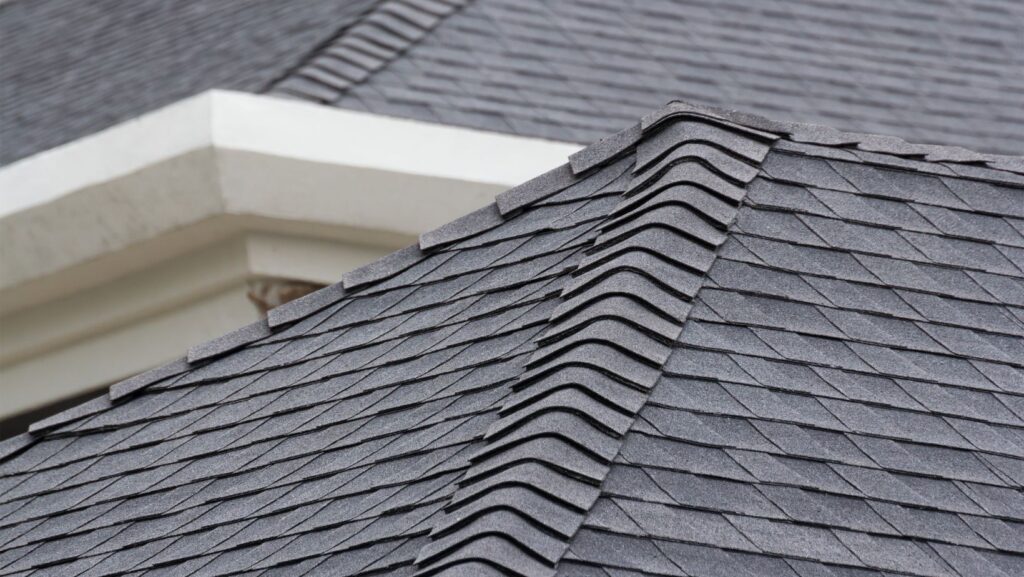
Asphalt shingle roofing is a popular choice for homeowners due to its affordability, durability, and ease of installation. It provides a reliable layer of protection against the elements while also enhancing the aesthetic appeal of your home. Asphalt shingles are available in various styles and colours, allowing you to customize your roof to match your home’s exterior. Understanding the benefits and characteristics of asphalt shingles can help you make informed decisions when preparing for roof installation.
Why Roof Preparation Is Key for Asphalt Shingles
Proper preparation is crucial when installing asphalt shingles to ensure the roof’s durability and performance. An inadequately prepared roof can lead to issues such as leaks, shingle blow-offs, and reduced lifespan of the roof. By investing time and effort in preparing your roof, you can prevent costly repairs and ensure that your new shingles adhere correctly and function effectively.
One of the main reasons for thorough roof preparation is to create a clean, smooth, and solid surface for asphalt shingle roofing to adhere to. Any debris, old roofing materials, or structural damage left unaddressed can compromise the new installation. By systematically preparing your roof, you minimize the risk of future problems and enhance the efficiency of the asphalt shingle roofing process.
Roof preparation also involves assessing and repairing underlying components, such as decking, flashing, and ventilation systems. These elements play a critical role in the overall function and longevity of your roof, and addressing them during preparation can prevent issues from arising in the future. A well-prepared roof not only supports the new shingles but also ensures that your home remains protected from external elements.
Step 1: Cleaning and Clearing the Roof Surface
The first critical step in preparing your roof for asphalt shingle installation is cleaning and clearing the roof surface. This process involves removing any existing roofing materials, debris, and vegetation that can hinder the installation process. A clean roof surface ensures that the new shingles can adhere properly, preventing potential issues down the line.
Begin by carefully removing old shingles, nails, and other roofing materials. This may require special tools and safety equipment to ensure that the underlying structure is not damaged during removal. Once the old materials are cleared away, inspect the roof surface for any signs of rot, mould, or damage that need attention before proceeding with shingle installation.
After removing debris and inspecting the surface, clean the roof thoroughly to remove any dirt, dust, or residues that could interfere with the adhesive properties of the shingles. Use a power washer or a hose with a nozzle attachment for best results, ensuring that the roof is completely dry before moving on to the next step. A clean and clear roof surface is essential for a successful and long-lasting asphalt shingle installation.
Step 2: Inspecting and Repairing Roof Components
Once the roof surface is clean, the next step involves inspecting and repairing critical roof components to ensure they are in good condition. These components include the roof decking, underlayment, flashing, and ventilation systems. Addressing any necessary repairs at this stage helps prevent structural issues and ensures that the new shingles can perform optimally.
Start by inspecting the roof decking for any signs of rot, warping, or structural weakness. If any damaged sections are found, they should be replaced or repaired to provide a solid foundation for the shingles. Next, check the underlayment, which serves as an additional barrier against moisture and wind. Any tears or worn areas should be addressed before proceeding with the installation.
Flashing is another critical component that needs careful inspection and repair. Ensure that all flashing around chimneys, vents, and valleys is intact and securely fastened. Proper flashing prevents water from seeping into the roof structure, reducing the risk of leaks. Finally, evaluate your roof’s ventilation system to ensure it is functioning effectively, as proper ventilation is vital for maintaining the health and longevity of your roofing system.
Step 3: Installing Protective Layers and Flashing
With repairs completed, it’s time to install protective layers and flashing, which are essential for safeguarding your roof against environmental elements. These layers provide additional protection and stability to the roof structure, ensuring that the new shingles can withstand harsh weather conditions.
 Begin by laying down a high-quality underlayment over the roof decking. This layer acts as a secondary barrier against moisture infiltration and helps prevent wind-driven rain from penetrating your home. Ensure that the underlayment is installed smoothly and securely to avoid any wrinkles or gaps that could lead to leaks.
Next, install flashing around any roof penetrations such as chimneys, vents, and skylights. Properly installed flashing is crucial for directing water away from vulnerable areas, preventing leaks and water damage. Use corrosion-resistant materials and secure the flashing tightly to ensure long-lasting protection. By meticulously installing these protective layers, you enhance the overall integrity and durability of your asphalt shingle roof.
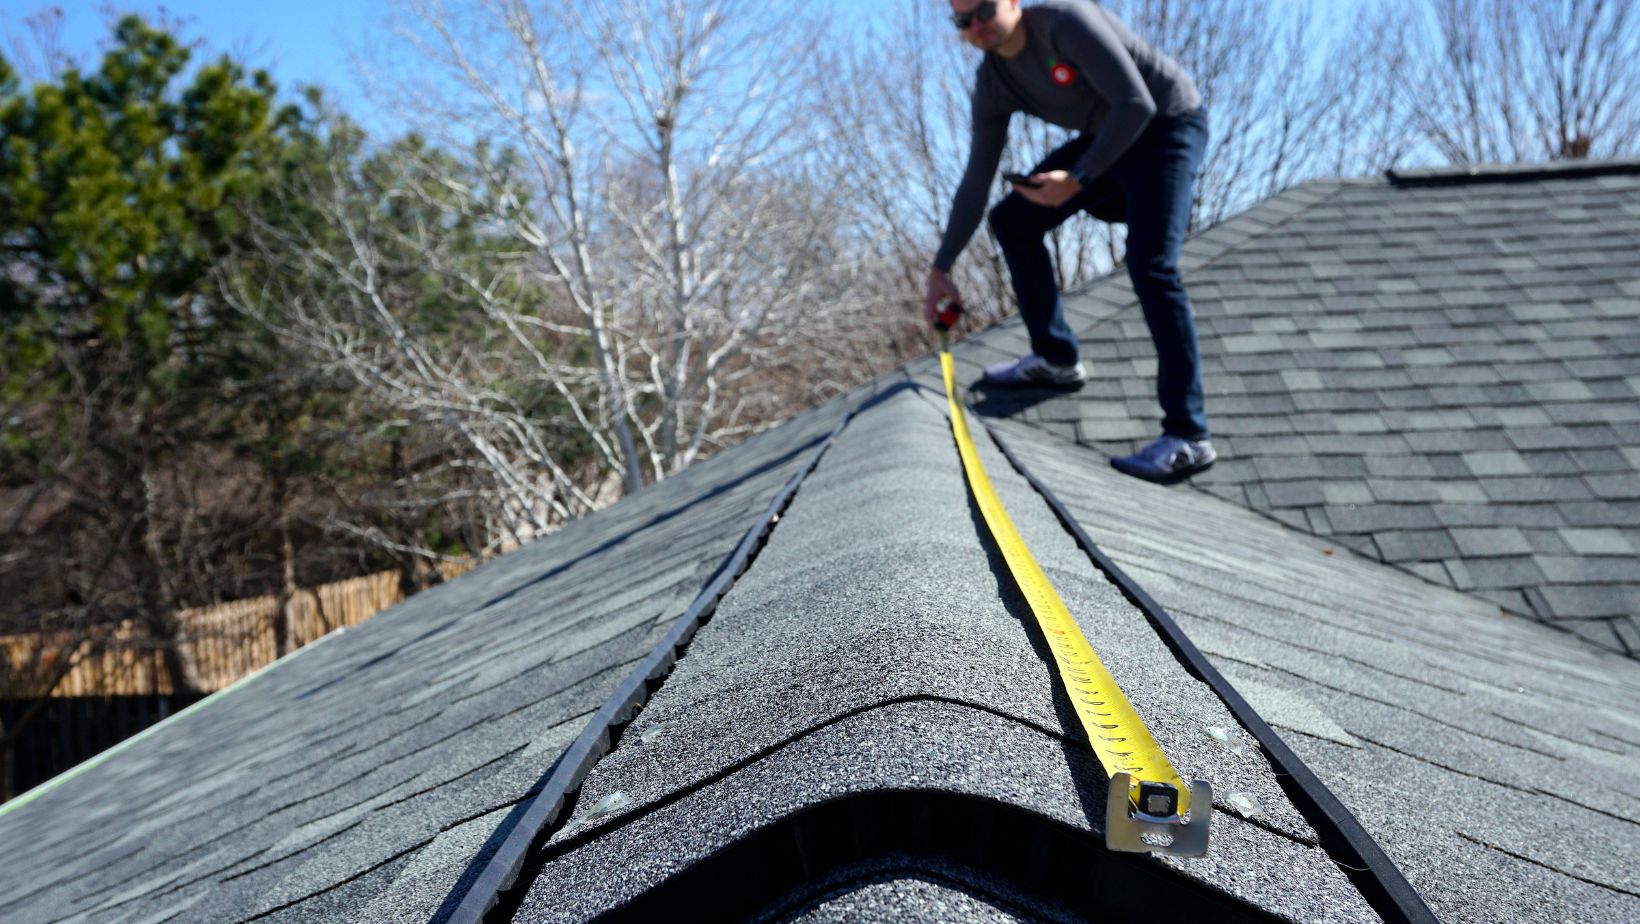
Step 4: Checking Weather and Timing Considerations
As you prepare for shingle installation, it’s important to consider weather and timing. Asphalt shingles require specific conditions for optimal installation, and understanding these factors can prevent complications and ensure a successful project.
Check the weather forecast before scheduling your shingle installation. Ideal conditions include dry weather with temperatures between 40 °F and 85 °F. Avoid installing shingles during periods of rain, high humidity, or extreme temperatures, as these conditions can affect the adhesive properties of the shingles and their ability to seal properly.
Timing is also crucial when planning your roof installation. Consider the availability of roofing contractors, as well as your own schedule, to ensure that the installation process can proceed without interruptions. Additionally, factor in potential delays due to weather conditions, and be prepared to adjust your timeline accordingly. By carefully considering weather and timing, you can ensure a smooth and efficient asphalt shingle installation process.
Step 5: Ready for Shingle Installation
With your roof properly prepared, you are now ready for the asphalt shingle installation. This step involves carefully laying and securing the shingles to ensure they provide optimal protection and aesthetic appeal. A successful installation not only enhances your home’s appearance but also contributes to its overall value and longevity.
Start by installing a starter strip along the eaves to provide an extra layer of protection against wind and water infiltration. Then, begin laying the shingles from the bottom edge of the roof, working your way up in a staggered pattern. This method ensures that the shingles overlap correctly, preventing water from seeping through the gaps.
Ensure that each shingle is secured with the appropriate number of nails, according to the manufacturer’s guidelines. Properly fastened shingles are less likely to be dislodged by strong winds, contributing to the roof’s overall durability. As you progress with the installation, periodically check your work to ensure that the shingles are aligned correctly and that there are no gaps or exposed fasteners. A meticulous approach to shingle installation will result in a roof that provides reliable protection for years to come.
Summary
Completing the preparation and installation of your asphalt shingle roof is a significant achievement that adds value and protection to your home. Now that your new roof is installed, regular maintenance is key to preserving its condition. Conduct periodic inspections to check for any signs of damage, wear, or debris accumulation. Promptly address any issues to prevent them from escalating and compromising the roof’s integrity. Additionally, keep the roof clear of leaves and other debris that can trap moisture and lead to deterioration.
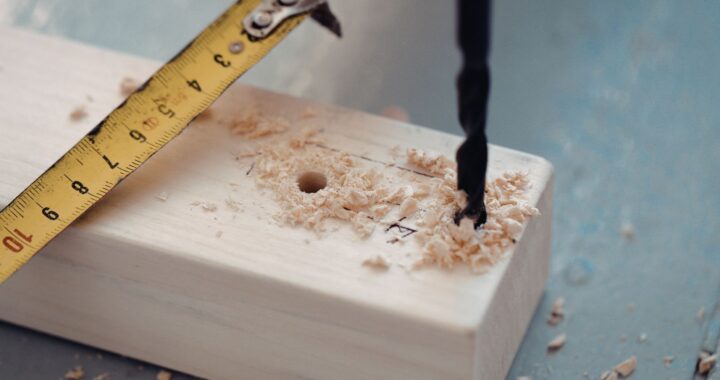 The Standards Most People Ignore When Selecting Wood Screws
  Perfect Tips for Choosing Egress Windows for Your Basement
 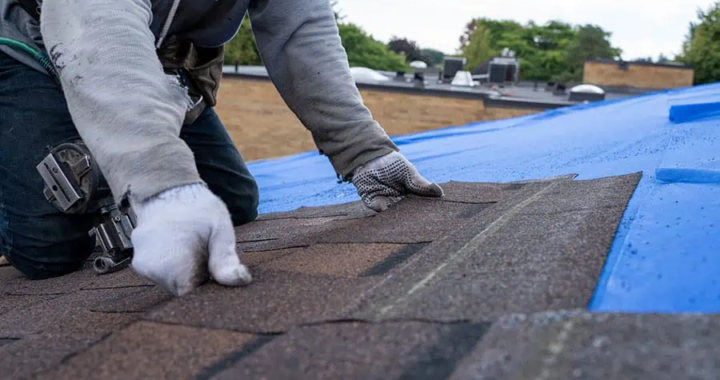 What Is Included in a Roof Replacement?